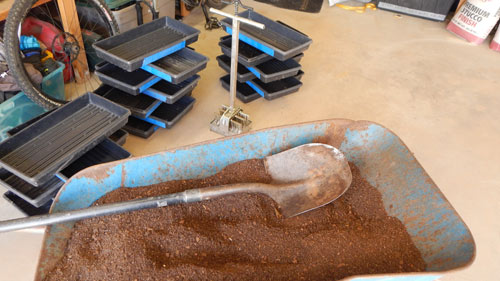
Well, it’s that time of year again. The snow is gone, the weeds aren’t here yet, but the seed orders came through and now it’s time to get the soil blocks going. If you have never tried soil blocks, there are several reasons why you should.
- They save on plastic and trash
- They provide seedlings with more strength before transplant
- They don’t dry out as fast as the cel trays = less stress to the plants
- They avoid the root bound situations you get with cel trays
- They can be transplanted without disrupting root growth
So lets look at a bit of the process:
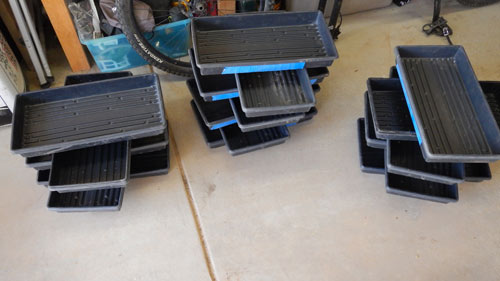
First I get my seedling trays cleaned and ready (I have re-used most of these for several years
 Then I mix the magic recipe (linked below this post)
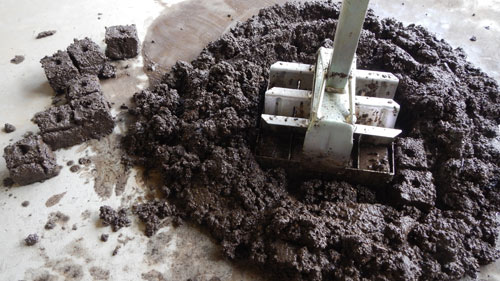
Then I get the 12-block “Soil Blocker” out and get ready to rock.
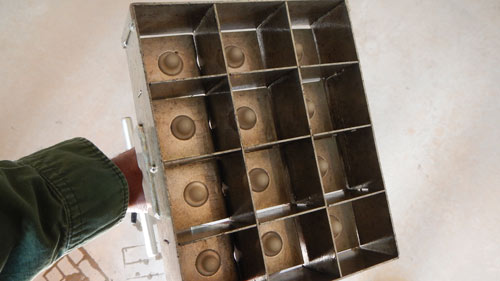 The biggest mistake on the consistency of the soil mix is to have it too dry. So be sure to keep it tacky. Try some experimentation to see how much the blocks compress before doing final ones. The soil mix should be piled about twice the depth of the actual blocks to it compresses as you push it down, then when you release them into the trays they will have the stability you need.
The recipe below makes about 400 blocks. Since I live in Colorado, and our season is about 110 days or so, I need to use these to get a head start on warm season veggies that will endure transplanting later on, especially tomatoes!
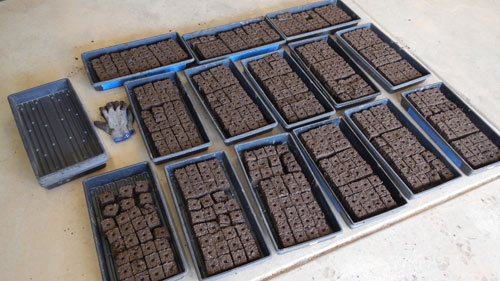 Seeds get planted in each center hole in the blocks. Then during watering this spring you just fill the base of the tray with about a quarter inch of water and the blocks absorb it. The roots will grow to the edge of each block and stop when they hit the oxygen space between them, thereby reducing root binding that is so often the case in cel trays. Once planted, the roots grow right through the block perimeter into the surrounding soil. This accelerates their growth cycle once planted out in the garden.
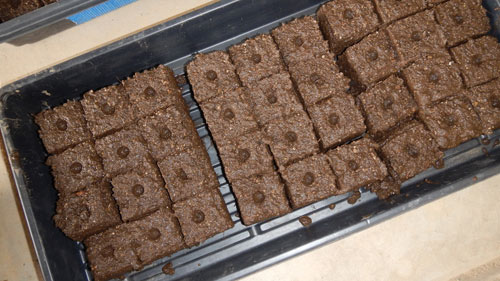
Once the seeds are planted, I cover the hole with some perlite which locks the smaller seeds in place.
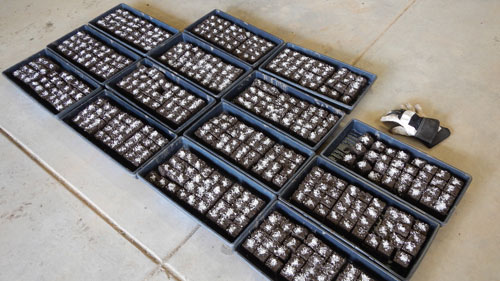
Then they all go inside for germination on the warm tile floor. This can take up to five days depending on the varieties. I cover them with plastic to hold the moisture.
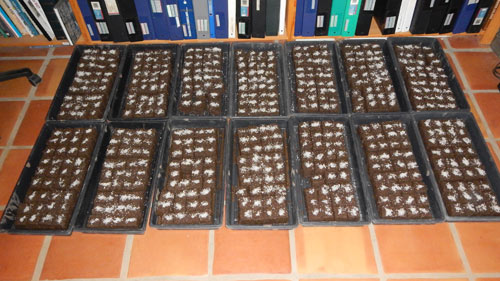 Once most of them germinate they will go into the garage under the timed lights for about 4-6 weeks. By then things will be ready to plant outside.
Soil Block mix:
(Makes roughly 400 blocks and you can get 36 to a standard tray.)
Mix in wheelbarrow: (Use 5 gal. buckets)
1.5 (5 gal) buckets sifted peat moss / screened through ½ inch hardware cloth
1 (5 gal) bucket course perlite
½ bucket sifted garden soil (screened through ½ inch)
1 (5 gal) bucket sifted (plant based) compost (screened through ½ inch)
1/2 cup lime. Mix
3 cups base Fertilizer (see below) Mix
~1-1.5 bucket water: This mix will be pretty wet when finished right. Biggest mistake is to make blocks too dry.
Organic base fertilizer mix:
(equal parts) roughly one cup each for this batch.
Greensand (for potassium and micronutrients)
Phosphate rock (for phosphorus)
Cottonseed meal or alfalfa meal (for nitrogen)
(Sifted is best on all three)
Use yogurt container as main unit to mix equal parts of above three.
Maybe start with 1/3 container of each ingredient and mix.
(then portion out the 3 cups for above mix)
* When pressing soil, pile needs to be twice the height of the press
* Dip block presser into bucket of water each time to ease the release
* Put tray liner in bottom to help with ease of getting out later
* Move blocks with pallet knife or spatula
* When you plant seed in blocks, put seed in depression and cover hole with Perlite.
Cover trays with plastic after planting seeds to hold moisture. Allow oxygen from below or side. Will sprout in about 5 days
Later when sprouted, pull plastic off and water daily.
Here are links to Soil Blockers. I use the 12 block version but they are made in all kinds of sizes.
**If you are looking for more guidance on all kinds of Organic Gardening Methods, check out Garden Club for a great way to learn!

